
Reasons not to Shoot in RAW
The main reason why people don't shoot in RAW is because the files are bigger, taking up more room on you SD card and also your computer's harddrive. Another reason is that jpeg is compatible with more software, you can't just upload a file in RAW to facebook or where ever else you want it to go, most of the time it needs to be in jpeg format. So when shooting in RAW all the files you want to use you need to convert to jpeg. Also while taking photos each photo takes a little longer to capture seeing as you are capturing it in a bigger format.
1. Big Files
2. Long process of converting files
3. RAW captures images slower
Reason to Shoot in RAW
1. Camera doesn't Edit
When shooting in RAW your images will look really flat. When you shoot in jpeg lots of cameras will automatically enhance the image. Because you get the image with no editing being done to it, it leaves more options for you in the editing process.
2. Dynamic Range is one of the main reasons I shoot in RAW. In jpeg you only get a few stops, but a RAW file will have all the data from the image sensor which will give you a range of about 8 stops. So if you have an image that is over-exposed you might beable to recover some of that data. However if you shot the image in jpeg you will not be able to make as much of a recovery. Let me give you an example.

 When opening a RAW image in photoshop from Bridge it will automatically open it into Camera RAW. The RED is showing me the parts of the image that is way way to overexposed. Basically it is telling me that there is no detail there.


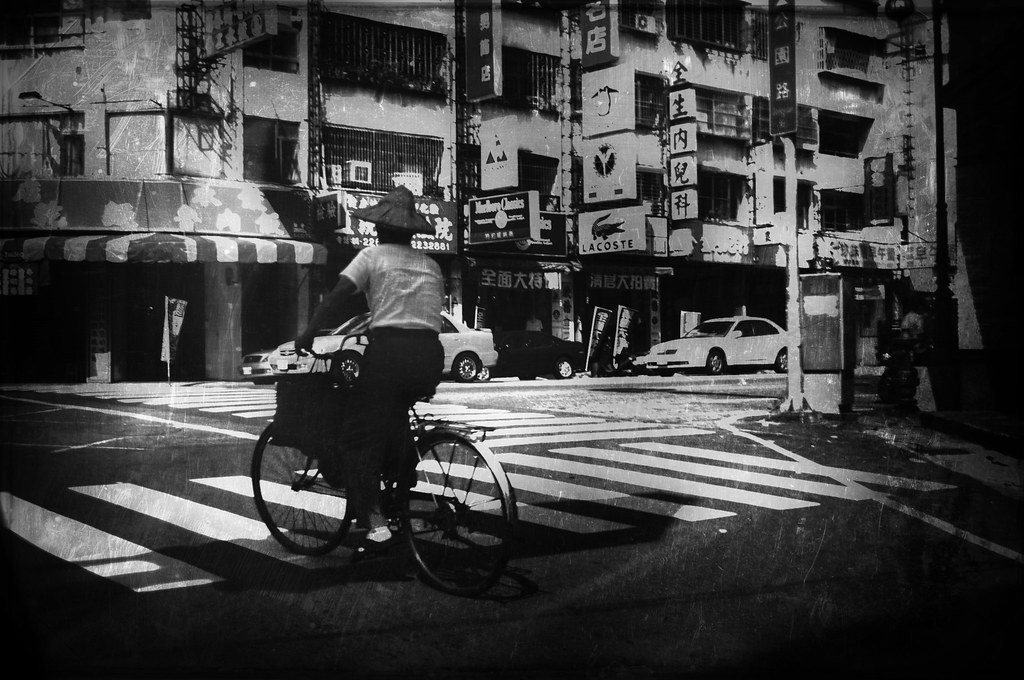
Below is my final result, after I cleaned up all the parts that were overexposed the best I could I added some contrast in photoshop, made it Black and White, and tried to give it a look as if it was a photo taken a long time ago.
No comments:
Post a Comment